

Salesforce Collector
The Salesforce Collector enables you to collect and analyze Salesforce data such as leads, accounts, MQLs and more.
Creating a Salesforce Data Source
- In the Navigation Panel, go to Integrations > Catalog.
- Use the Search box OR click the Monitoring filter to locate the data source.
- Hover over the Salesforce tile, and click Start.
Note: If the data source has already been used, a dialog is displayed in which you can select from one of the listed sources. Alternatively, create a new source by clicking Add a new source - In the displayed Salesforce login dialog, enter your Salesforce Username and Password.
- Click Log In.
Note that when creating a new Salesforce data source, you can mark the Salesforce origin as “Sandbox”, which enables you to use a different environment to consume the data from while testing.
Creating a Stream Query
Note that each Salesforce data stream can use one of two collection modes, depending on the way you set it up:
- Retroactive mode - Collects historical data, as well as data from this point in time onward. This mode is only enabled if you provide a date/time field during the setup of your data stream.
- Snapshot mode - Collects data from this point in time onward. Anodot needs a timestamp for each sample, so the time in which Anodot queries the data (i.e. the Snapshot time) will be used as the sample timestamp.
If you just created a new Salesforce data source, skip to step 3.
- In the Sources page (accessed by clicking Integrations > Sources in the Navigation Panel), filter the list of streams to find the Salesforce source for which you want to create a stream query.
Note: The streams associated with the chosen source are displayed. If the Streams panel is empty, no stream queries exist for that source. - Hover over the Salesforce data source, and click + New Stream. The Stream Query page is displayed.
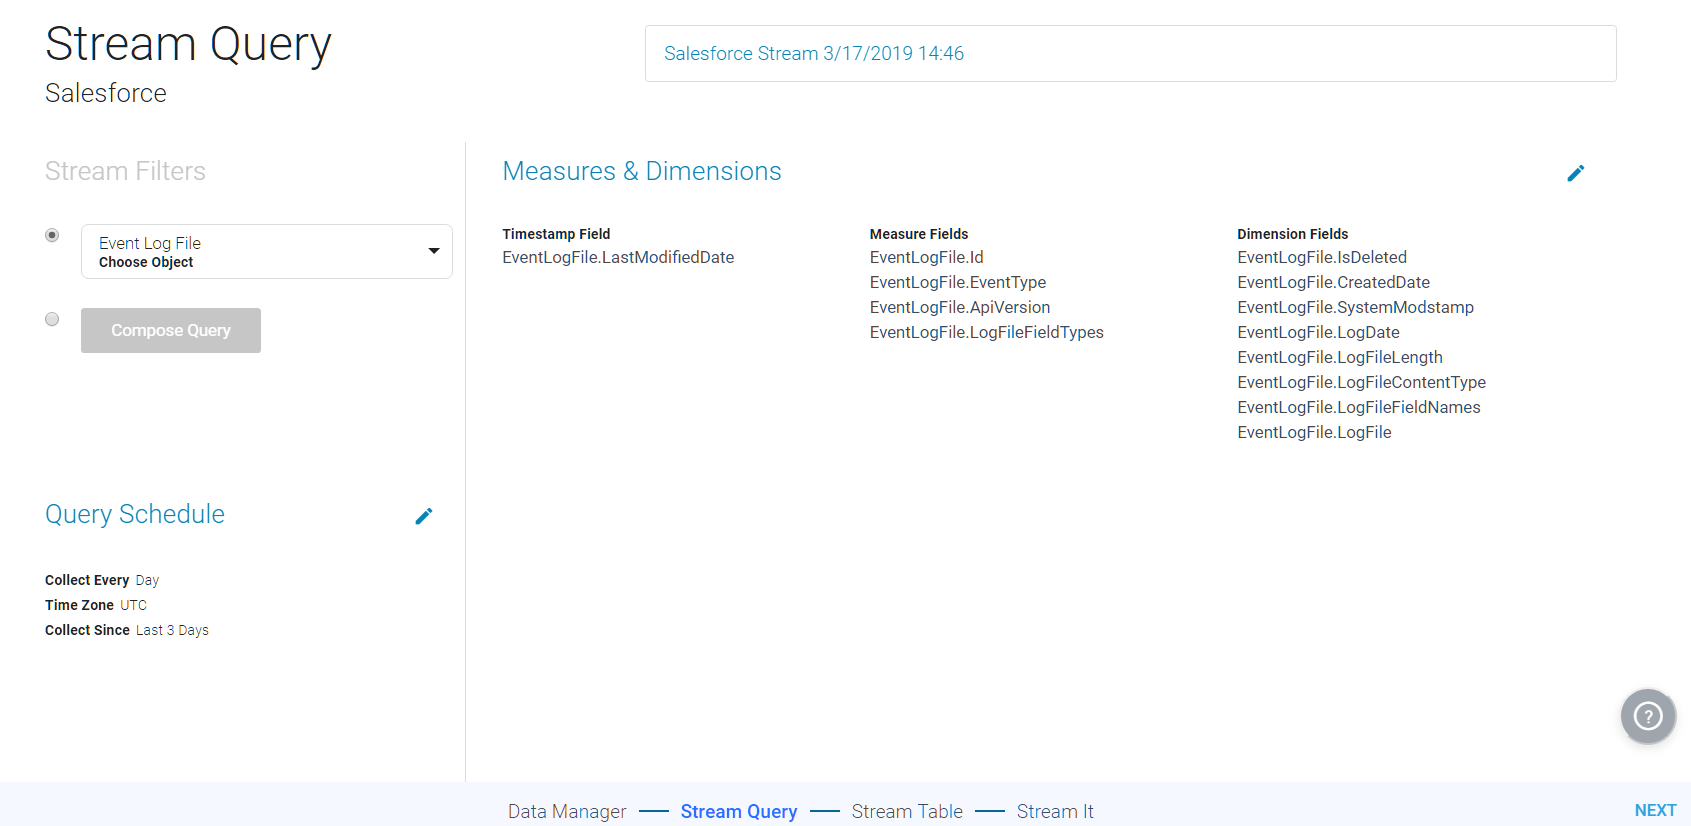
- In the Stream Filters section, select one of the following:
-
Choose an Object from the dropdown menu. The list of fields in the object are displayed in the Measures and Dimensions panel.
-
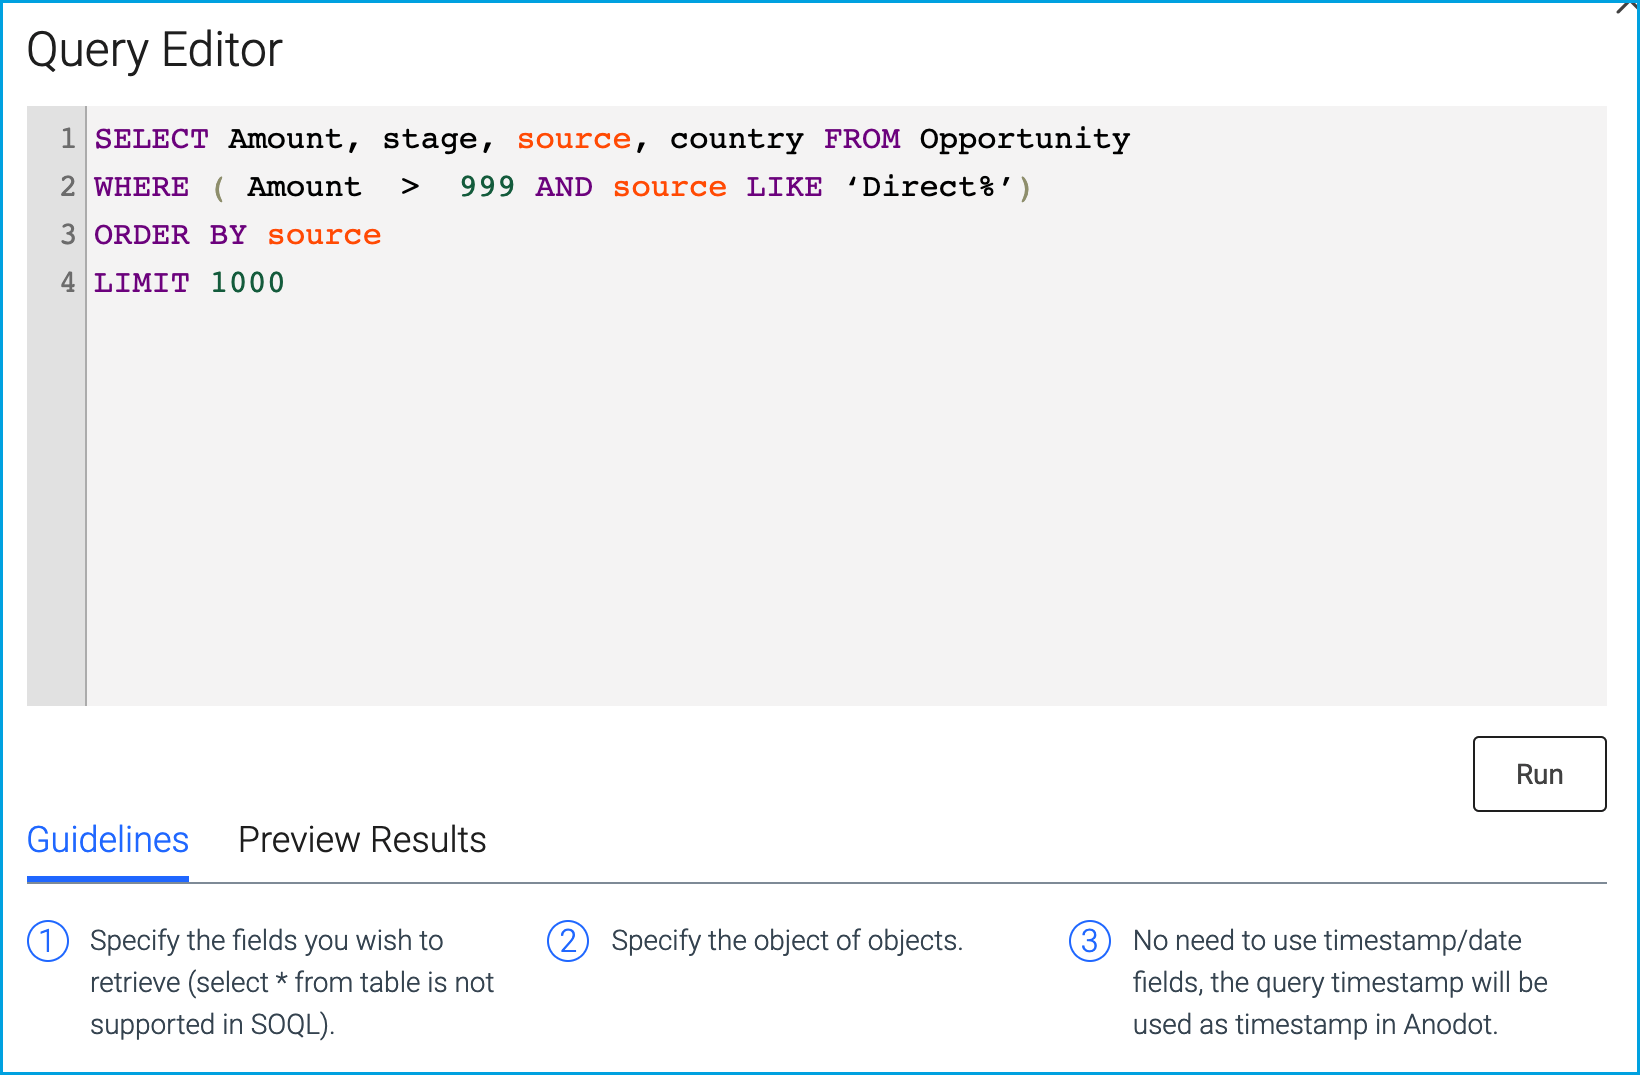
Choose Compose Query to open the Query Editor. Use the sample text and guidelines to build a query.
-
- Click the Query Schedule edit icon to display the Query Schedule screen. Define the following:
-
Query frequency [Hourly/Daily]
-
Historical Time Span [Optional]
Note: A timestamp field must be designated as a Date in the Measures & Dimensions section in step 5.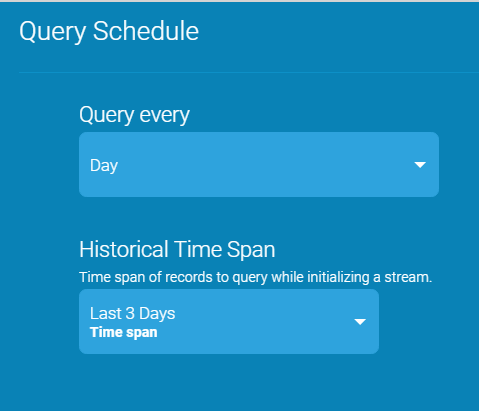
-
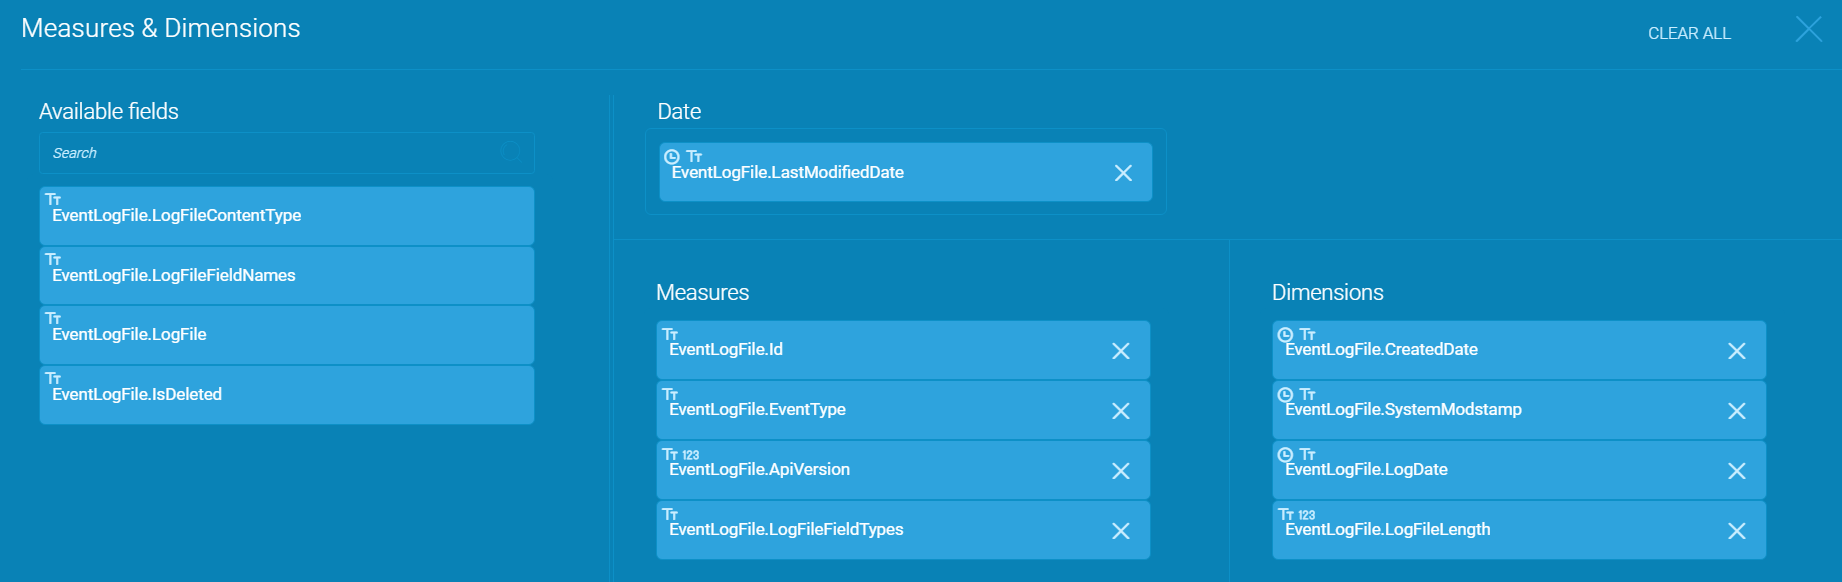
- Click the Measures & Dimensions edit icon, and add parameters to the query by dragging them from the Available fields to one of the following:
-
Date [Optional] - you can change the historical time span of records to query in Query Schedule - see step 4.
-
Measures
-
Dimensions
-
- Click X to accept the chosen parameters and return to the Stream Query page.
- Click NEXT. The Stream Table is displayed; see Stream Tables for more information.
Updated over 1 year ago