

Configuring SAML 2.0 for Okta
-
Log in to your Okta account as an Administrator.
-
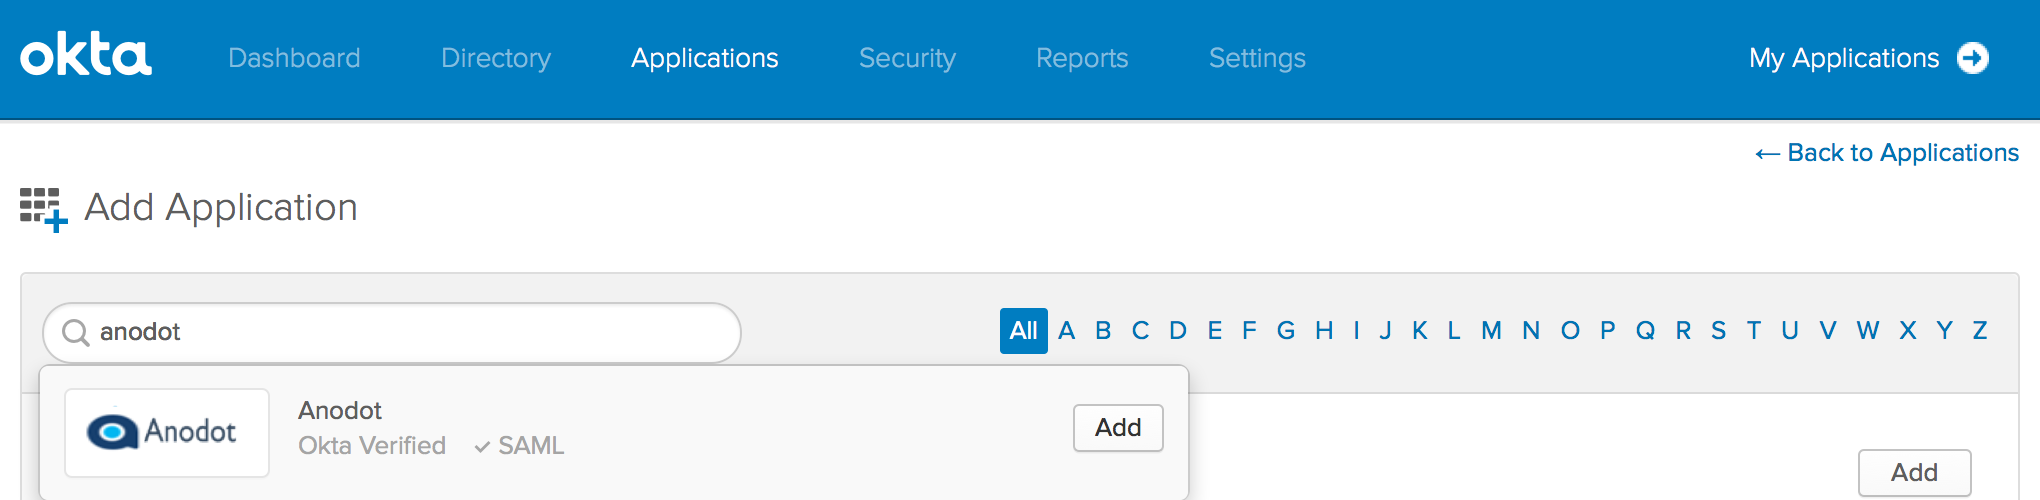
Navigate to Applications > Add Application.
-
Search for Anodot, select it and click Add.
-
Log in to your Anodot Account as an Administrator.
-
Navigate to Settings > Authentication.
-
Click the SAML option switch to enable it.
-
In the Service Provider Details section, copy the Entity ID (server ID) and Assertion Consumer Service URL (ACS).
*Note: Leave this page open as you will need to return to it. -
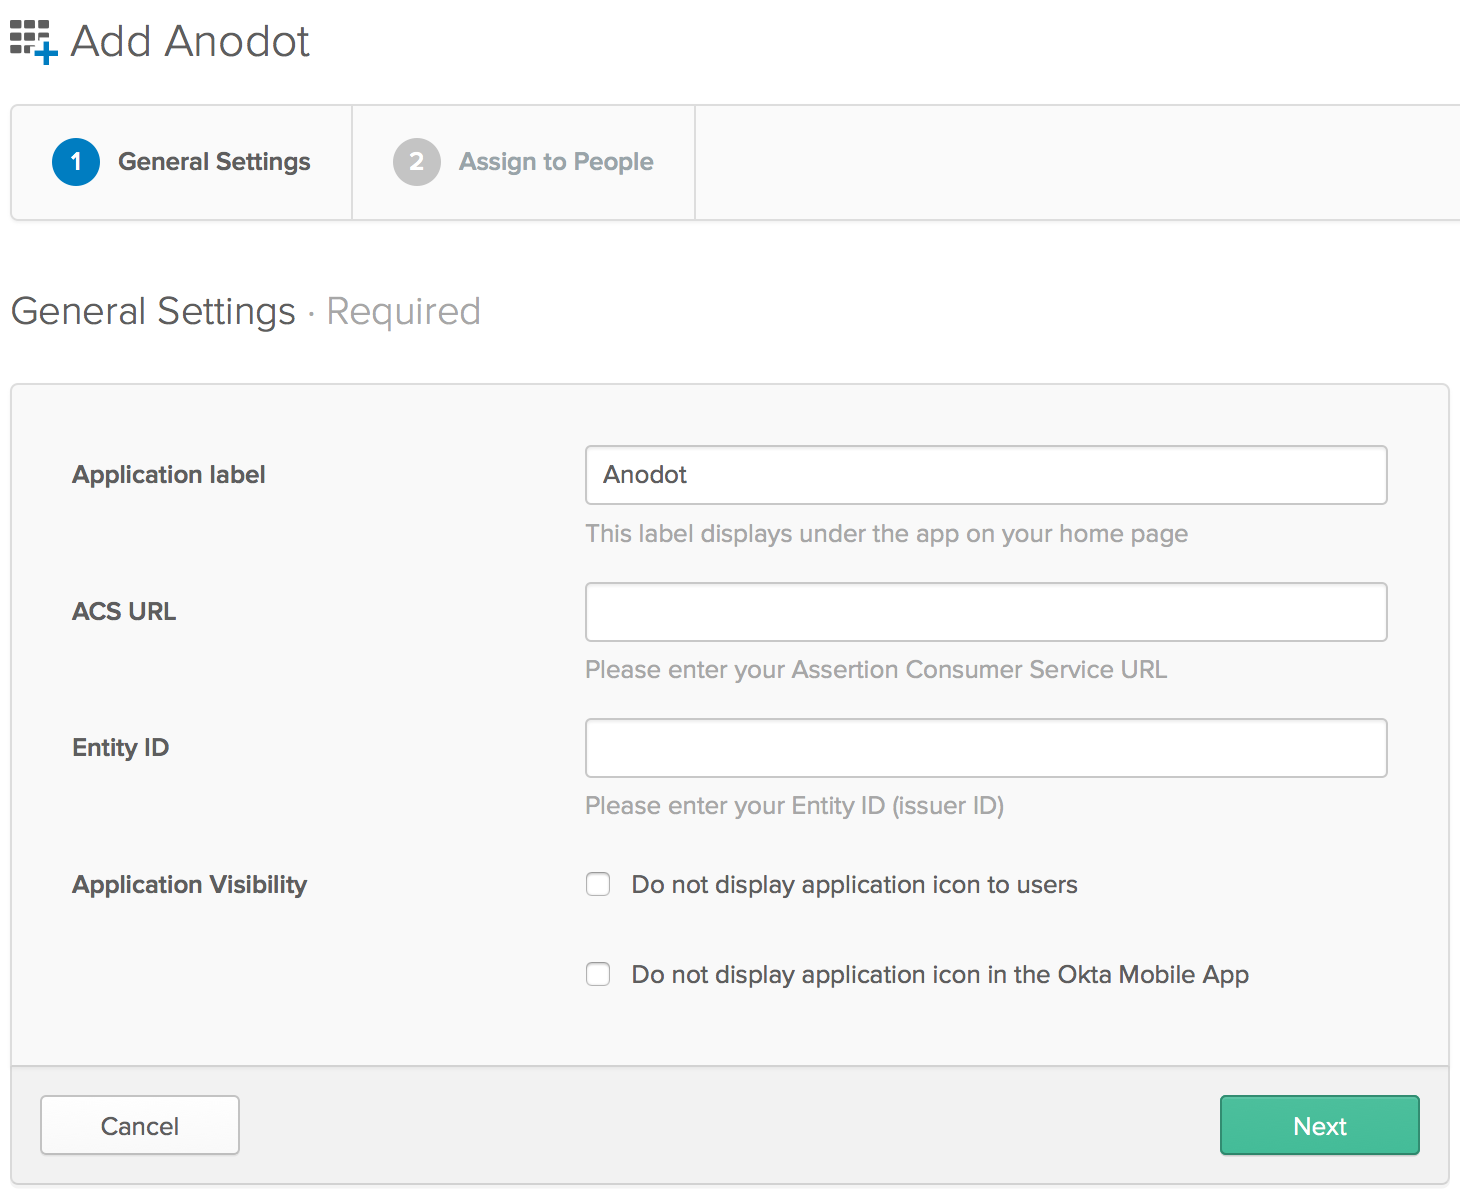
In Okta, click the General Settings tab for Anodot.
-
Paste the Entity ID ( server ID) and the Assertion Consumer Service URL you copied from Anodot into the corresponding Okta fields.
-
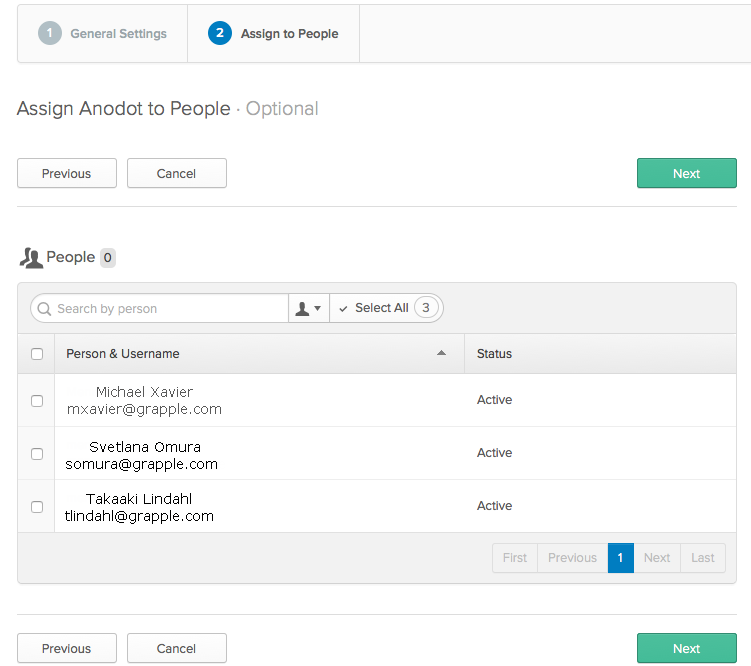
Click Next. The Assign Anodot to People dialog box is displayed.
-
To assign users, select their name from the People list. [Optional - skip to step 12 if you do not want to assign users.]
-
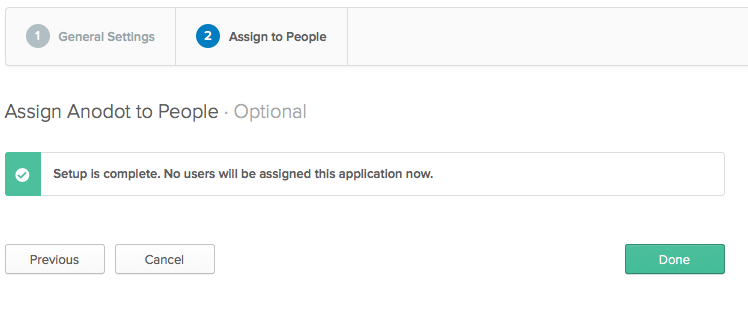
Click Next > Done.
-
Click Done.
-
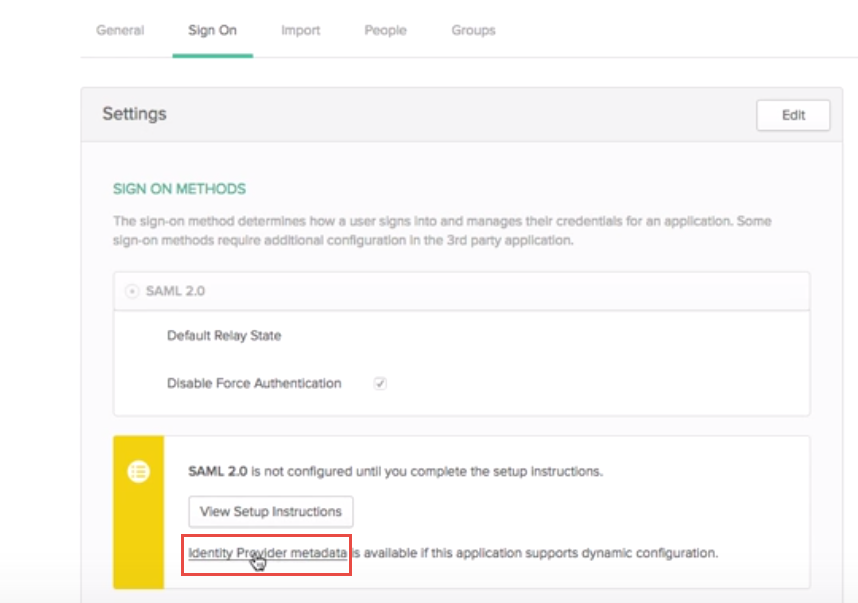
Click the Sign On tab.
-
In the Sign On > Settings window, click View Setup Instructions to view details, or go to step 16 to complete the setup using the Identity Provider Metadata file.
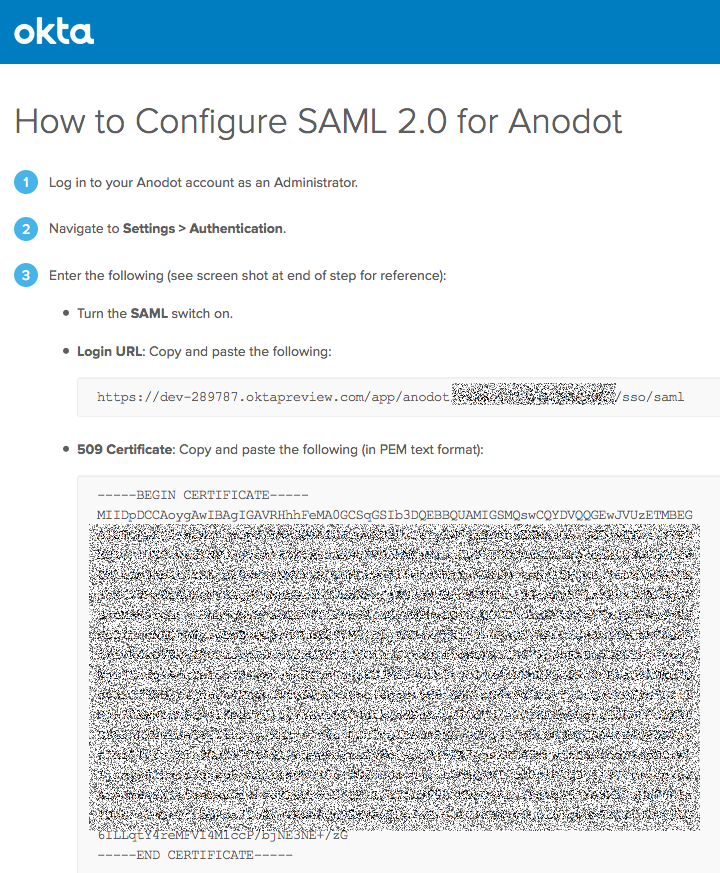
-
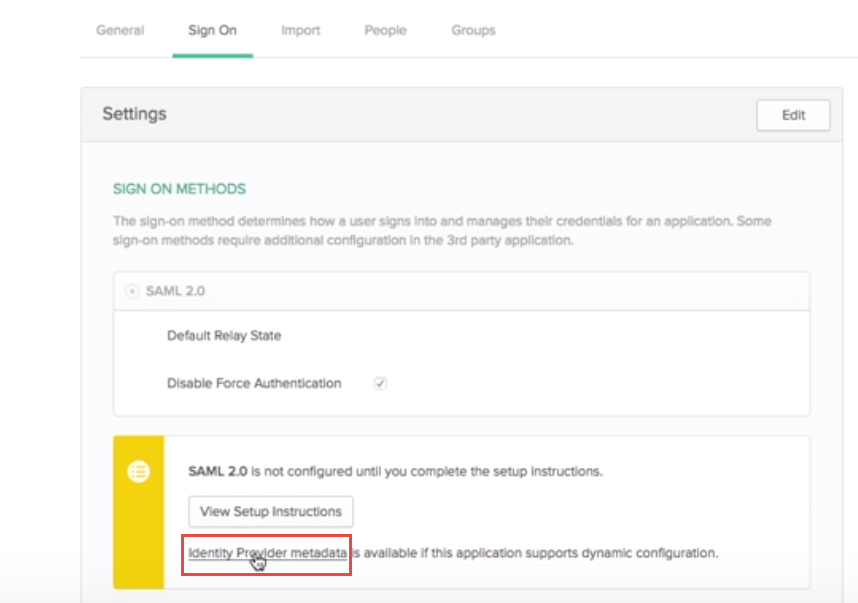
In the Sign On > Settings window, click Identity Provider metadata.
-
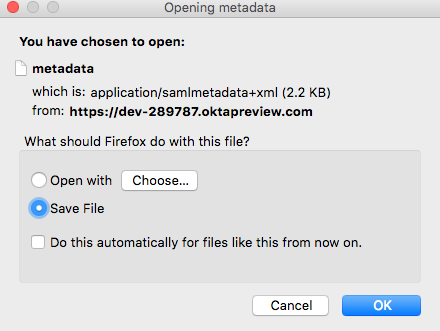
Click Save File.
-
Open the Metadata file with a text editor. Copy the whole of the X509 string.
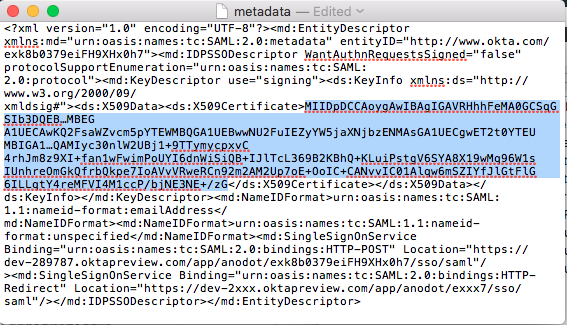
Note: Keep this page open in a separate tab or browser window. You'll need to return to it.
-
Open your Anodot Single Sign-On Configuration page. [see step 7].
-
In the Identity Provider Details section - 509 Certificate field, paste the 509 string copied from the Metadata file.
-
Navigate back to the open Metadata file. Copy the HTTP-POST location string.
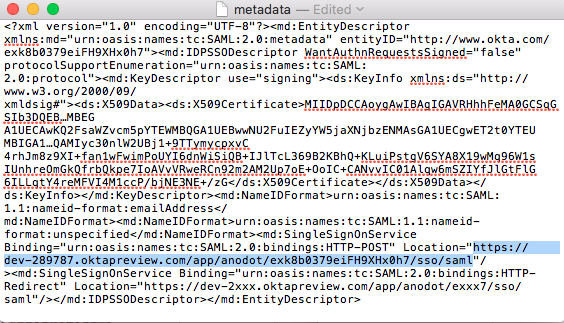
-
Open your Anodot Single Sign-On Configuration page. In the Identity Provider Details section - Login URL field, copy the HTTP-POST location string.
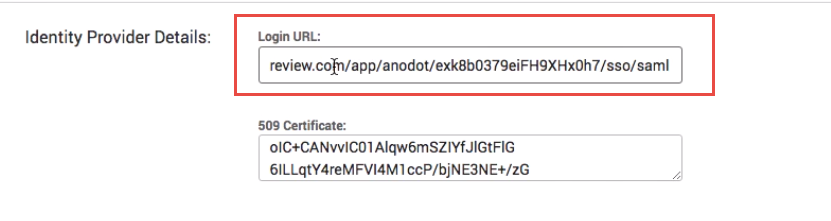
-
In the Anodot Single Sign-On Configuration window, click Save.
Setup is now complete.
For more information see: How to Configure SAML 2.0 for Anodot
Updated over 1 year ago